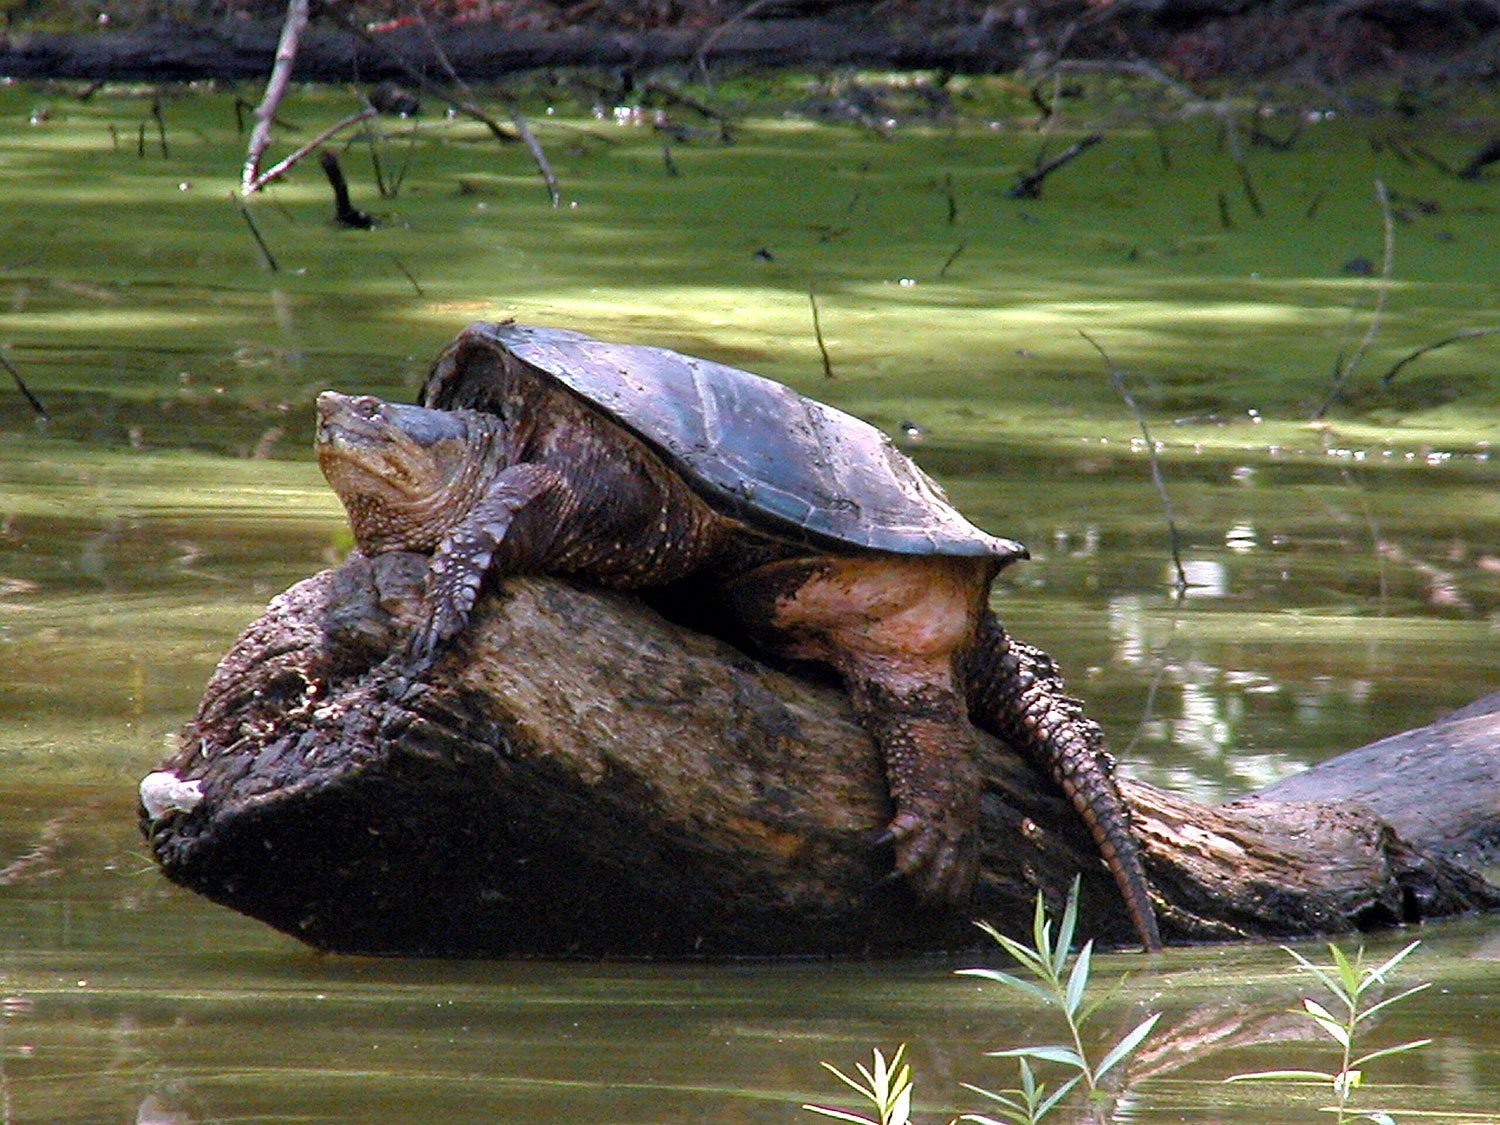
These are step-by-step instructions on how to clean a Snapping Turtle.
- Before sundown, the head must be cut off just behind any neck or jaw bones. Hang the turtle by the tail and spray with water every few hours to keep the flies in check.
- Cut the skin around each foot joint, twist breaking the bone and discard the feet.
- Hanging by the tail, cut the bumps on the top of the tail from the top down towards the shell. Cut alongside the tail on both sides just under the shell.
- With the underside towards you, at the back legs, cut between the shell and skin as close to the shell as possible. Make the cut down to the breast plate at the center edge of the shell.
- With your knife up, make a slit at each front leg between the skin and the shell and cut up separating the breast plate edge from the shell edge.
- Finish cutting the skin from the front leg pockets down towards the neck as close to the shell as possible.
- Cut the skin away from the top of the neck.
- At the top of the breast plate (the end closest to the tail), begin separating the tip of it with the knife. As it separates, pull it away from the underside of the turtle until it is completely removed at the neck and the skin from each front leg (similar to cleaning a muskrat).
- Between the back legs, cut at the rectum and down splitting the bone using the knife to leverage the break. Take your thumbs and split it as wide as possible.
- Remove the skin from each back leg and right on up the tail.
- Remove all purple meat from the rectum area. Also, remove as much yellow fat as possible.
- Cut around each back leg separating it from the shell.
- Remove the entrails leaving the surface tenderloin on the center of the shell.
- Cut around each front leg quarter as close to the shell as possible removing all yellow fat, but keeping the pure white meat.
- Cutting from the top down, work the surface tenderloin meat at the center of the shell towards the neck.
- Grab the neck and tenderloin together and lift up and cut close to the shell around the neck area.
- After working everything towards the bottom of the shell (the neck), find the ball joint in the top middle and separate from the shell. Do the same with the two ball joints on each side of the top center and detach from the shell.
- Cut between the shell and the tail and then lift the shell at a 45 degree angle and jerk down so the tail separates from the shell.
- Cut the tip of the tail off and keep the meaty end.
- Soak the shells after cleaning and then refrigerate along with the meat.
- After the meat firms up, remove all yellow fat.
- Using a hammer and chisel, break each shell strap holding the shell tenderloin. Once all straps are cut, using these tools, go underneath length wise to separate it from the shell.
- End of process


